
Introduction
With so many of today's merchants and retailers supporting emailed receipts, it's never been easier to automatically fetch transactions and make receipts available for exporting to your preferred accounting program. Let's get started.
A brief overview of how Commerce manages and organizes emailed receipts.Register your Commerce Mailbox Address
Registering a new Commerce Mailbox address is easy!
-
Just click the Connect button from the left navigation and choose the Mailbox by Commerce tile.
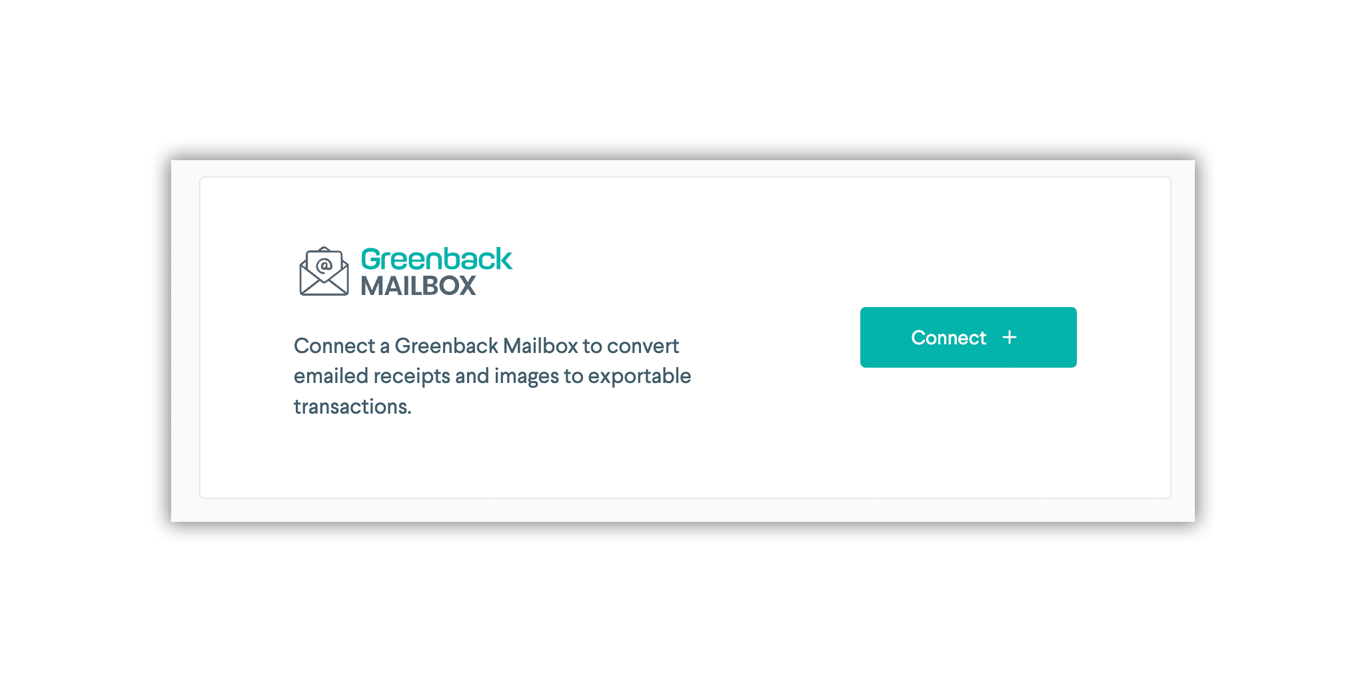
-
Once you click the connect button, you should find the new email address assigned to your account. If you don't immediately see the email, remember to check your spam/junk folder.

Getting your emails into Commerce
Sending your emailed receipts into Commerce can be accomplished by:
- Manually forwarding your receipts.
- Using a standardized company email address and configuring rules to automatically deliver all company receipts to Commerce.
- Configuring rules within your email to automatically forward emails that contain common phrases such as receipt or invoice within the subject line.
For choosing the best method, consider the volume of receipts, your preferred level of automation, and the available features in your email service.
Forwarding emailed receipts
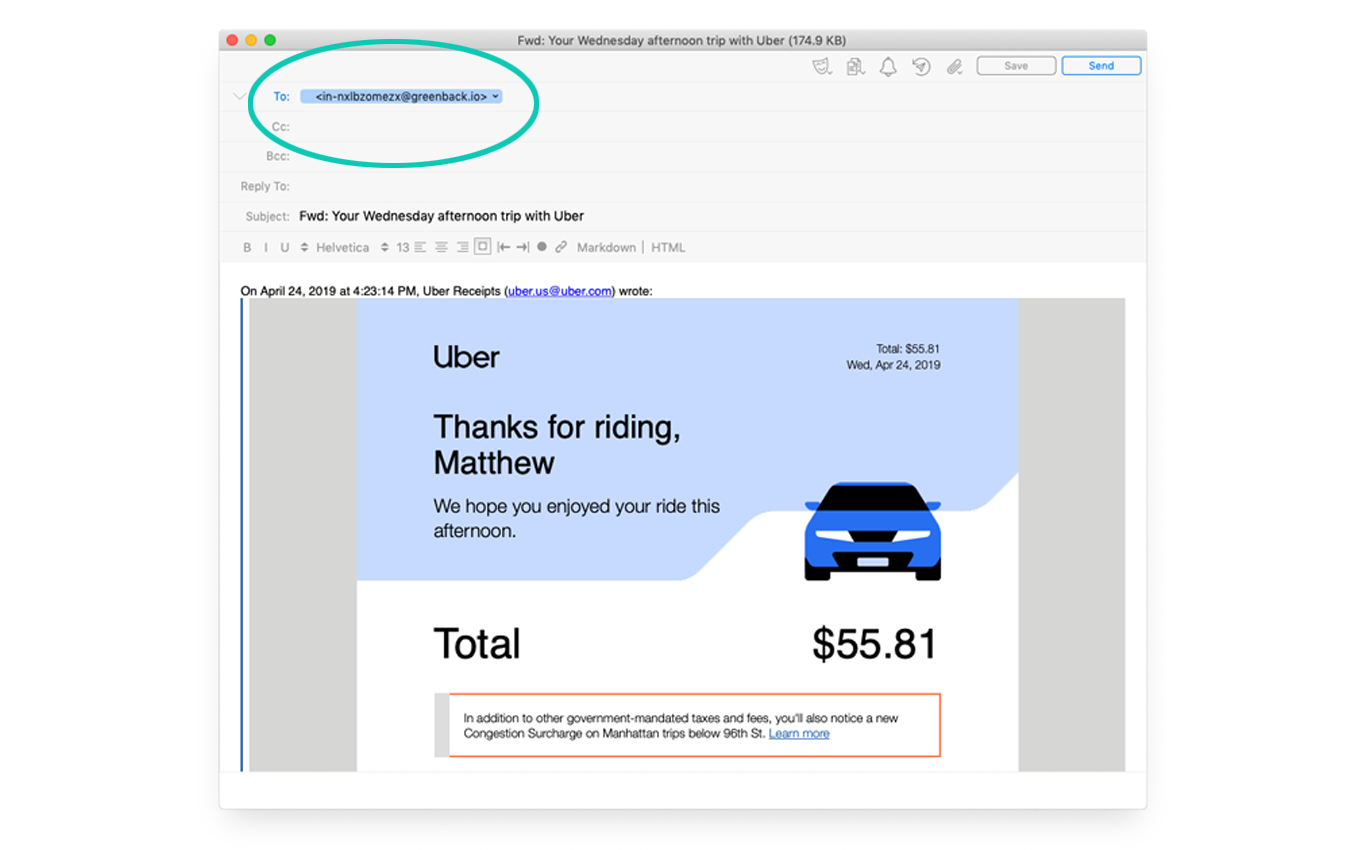
Manually forwarding email receipts to Commerce is easy. Simply forward each receipt to your Mailbox by Commerce email address. Ensure the Commerce address is saved in your contacts to streamline the process for future forwards. The example below shows an Uber receipt ready to be forwarded to a Commerce address.
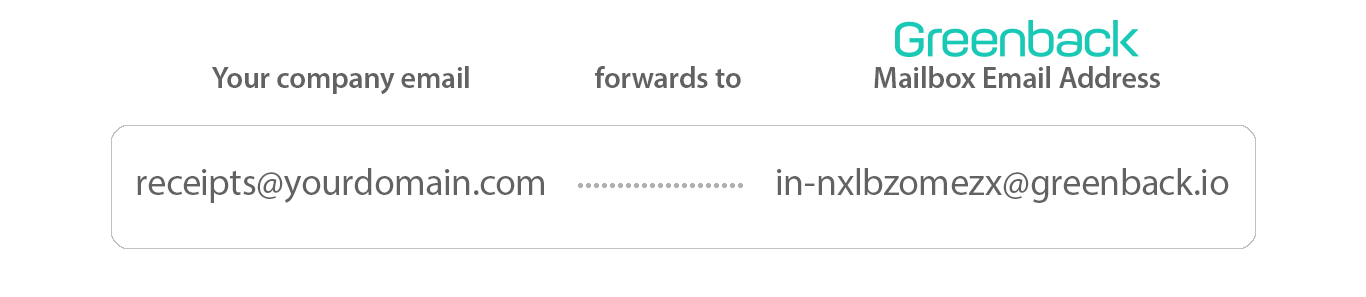
Standardize the process across your business
We highly recommend that when purchasing items for the business, you create a business-wide email address to use for all email receipt capture. Doing so will make it very easy to set up forwarding rules for all emails to this company-wide email address. Ensure that this company-wide email address has strong security measures in place to safeguard sensitive business information.
Setting up forwarding rules
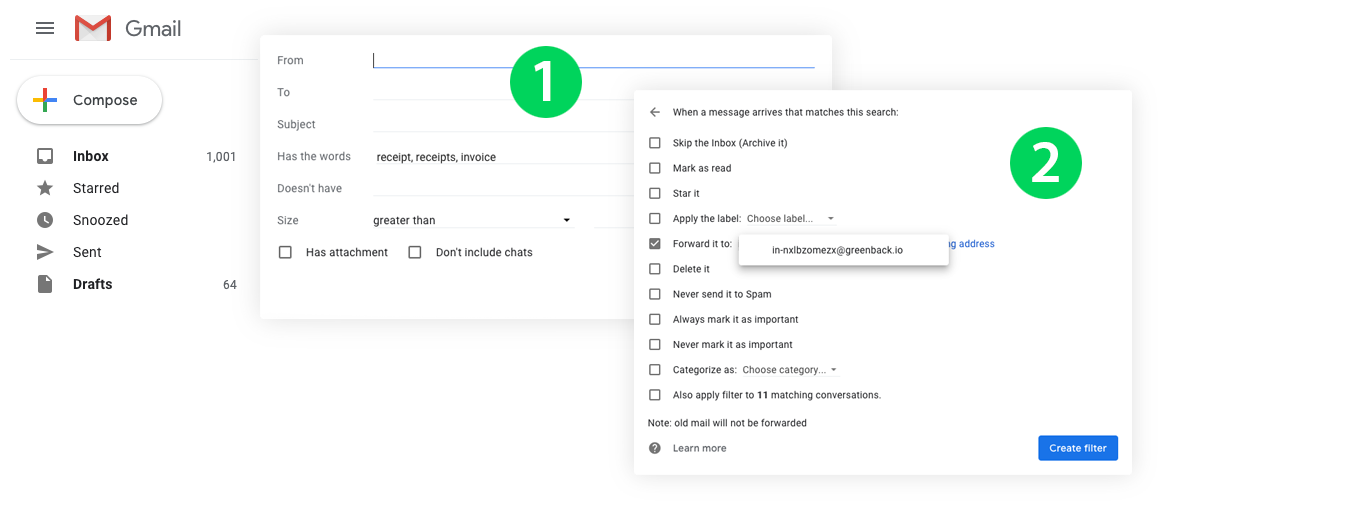
With many business email services, you can create rules that will automatically forward new emails to your Commerce Mailbox account. For example, in Gmail, simply:
- Go to Settings -> Filters -> Create a new filter.
- Define the keywords "receipts, receipt, invoice, payment" within the "has the words" filter field.
- Click create filter.
- Click the checkbox forward it to and add your Commerce Mailbox address (if not configured, please follow instructions on how to setup your Commerce Mailbox address for use within Gmail).
For those using other email services apart from Gmail, consult your service's documentation or help center for similar steps.
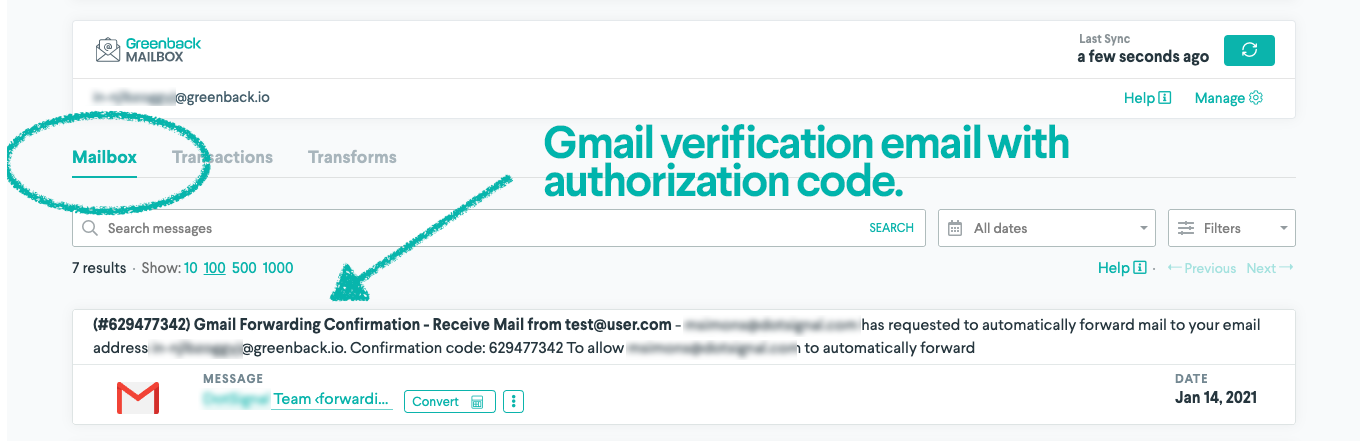
Need to authorize your Commerce mailbox for email forwarding?
Some email providers, such as Gmail, may require you to authorize the Commerce mailbox address before allowing you to forward emails. In most cases, the email provider will send an authorization code to your Commerce mailbox account. Follow the instructions within this email to complete the authorization. If you encounter challenges during authorization, refer to the troubleshooting guides provided by your email service.
Managing your emailed receipts
Now that you've forwarded your emailed receipts to Commerce, let's review how we prepare our receipts for import to an accounting program. Regularly categorizing and organizing your receipts will ensure efficient management and accurate accounting.
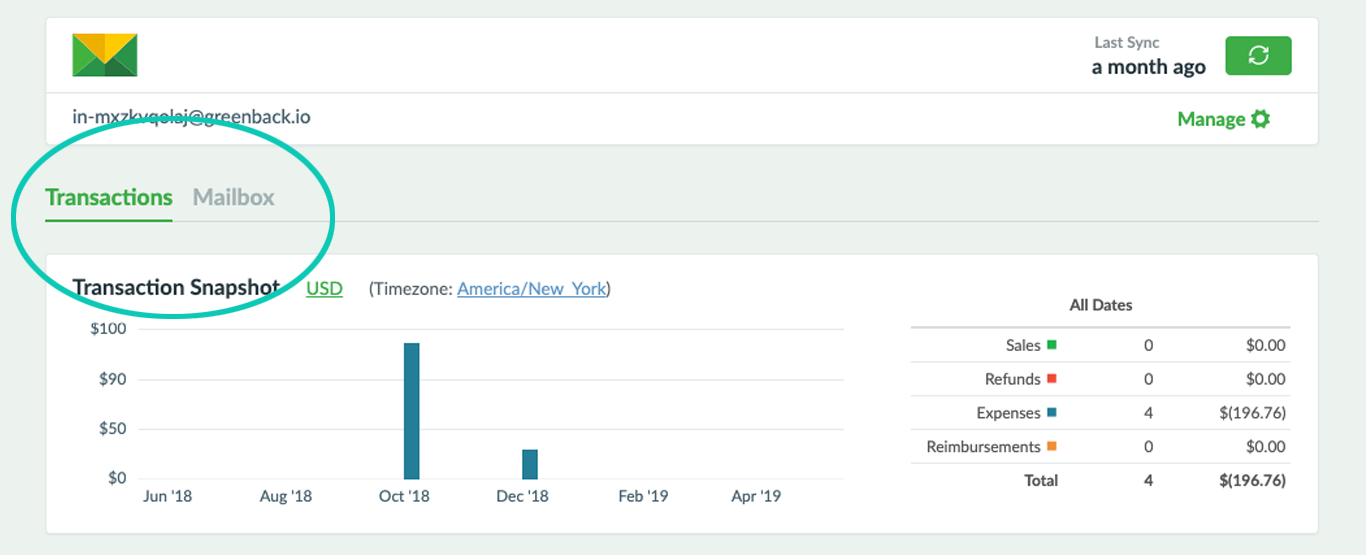
- From within your Commerce.com account, choose the new Mailbox account from the list of active connections.
- Here, you'll see two tabs: Transactions and Mailbox.
Receipts that Commerce was able to automatically convert will be shown on the Transactions page. With support for a vast amount of merchants and retailers, many of your receipts will be automatically converted. Transactions that Commerce couldn't auto-convert are found on the Mailbox page.
Converting emailed receipts into transactions
In instances where Commerce cannot auto-convert your emailed receipts into ready to export transactions, you can manually transform these receipts. Ensure the accuracy of every conversion for precise accounting.
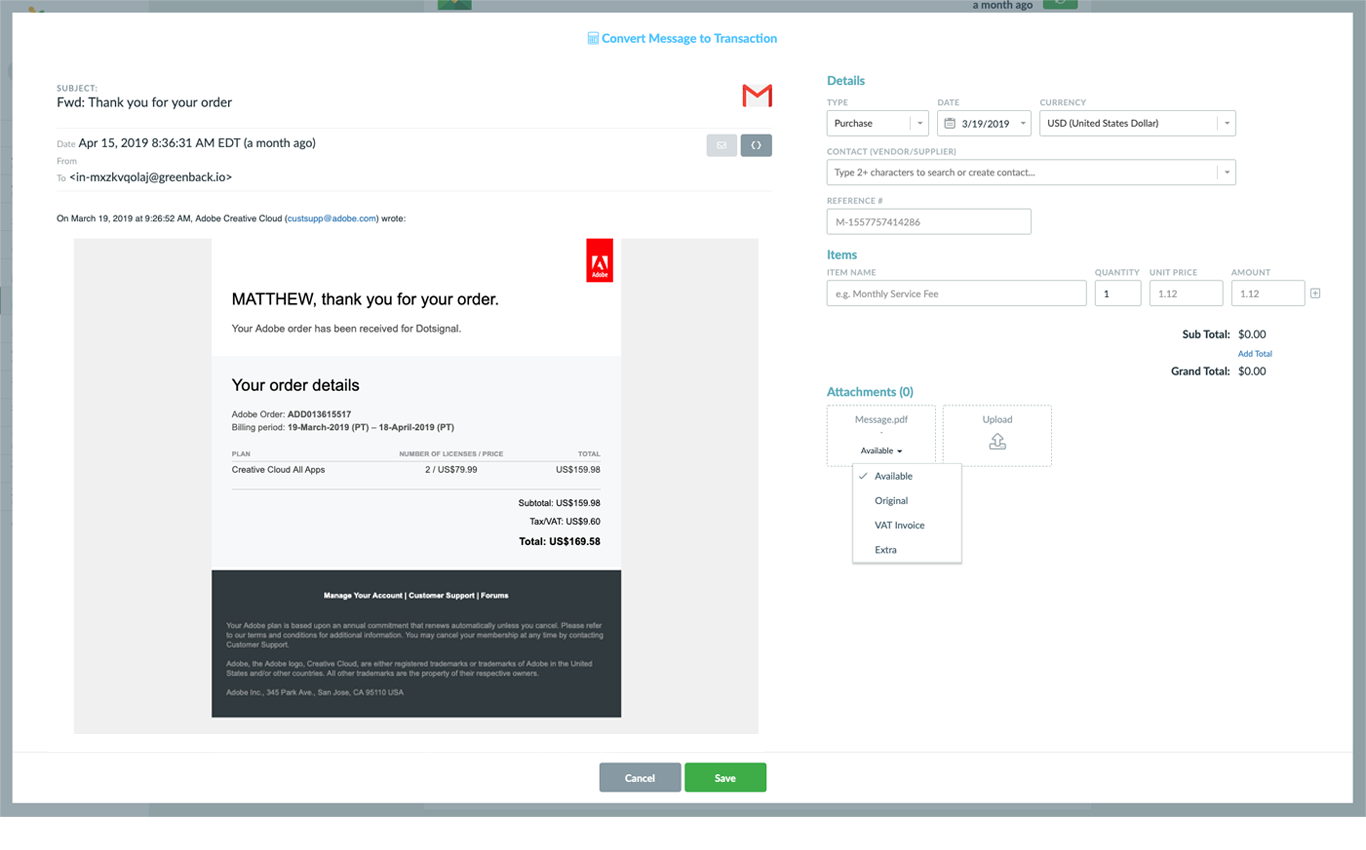
- From the Mailbox tab, select an emailed transaction from the list and click the Convert button.
- Commerce presents a rendering of the emailed receipt on the left. On the right, you can define the receipt details.
- Define the transaction details and identify any attachments from the emailed receipt. Commerce facilitates the association of all email attachments to the new transaction. Remember, these attachments can act as a copy of the original receipt in your accounting program.
Note: Regularly review your converted transactions for accuracy and consistency.
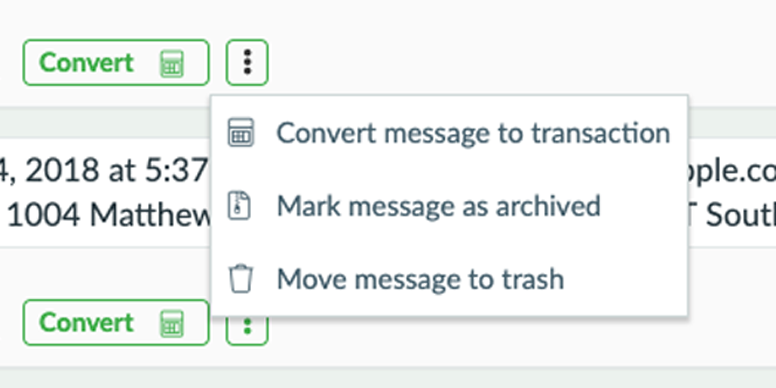
What about unwanted emailed receipts?
You might receive emailed receipts irrelevant to your business. Commerce offers two options: archive or delete these receipts from your Inbox or the Transactions tab. Regularly clean up unwanted receipts to keep the system efficient.
About verified contacts & self-learning
Commerce maintains a verified list of top global merchants and retailers, often suggesting them as potential contacts for emailed receipts. Once you select a contact, Commerce associates that contact with future receipts. The platform learns from your past receipt conversions and will increasingly auto-convert emailed receipts.
Remember to revisit and update your verified contacts list periodically to ensure optimal performance.