Updated January 12, 2022
Introduction to Accounts
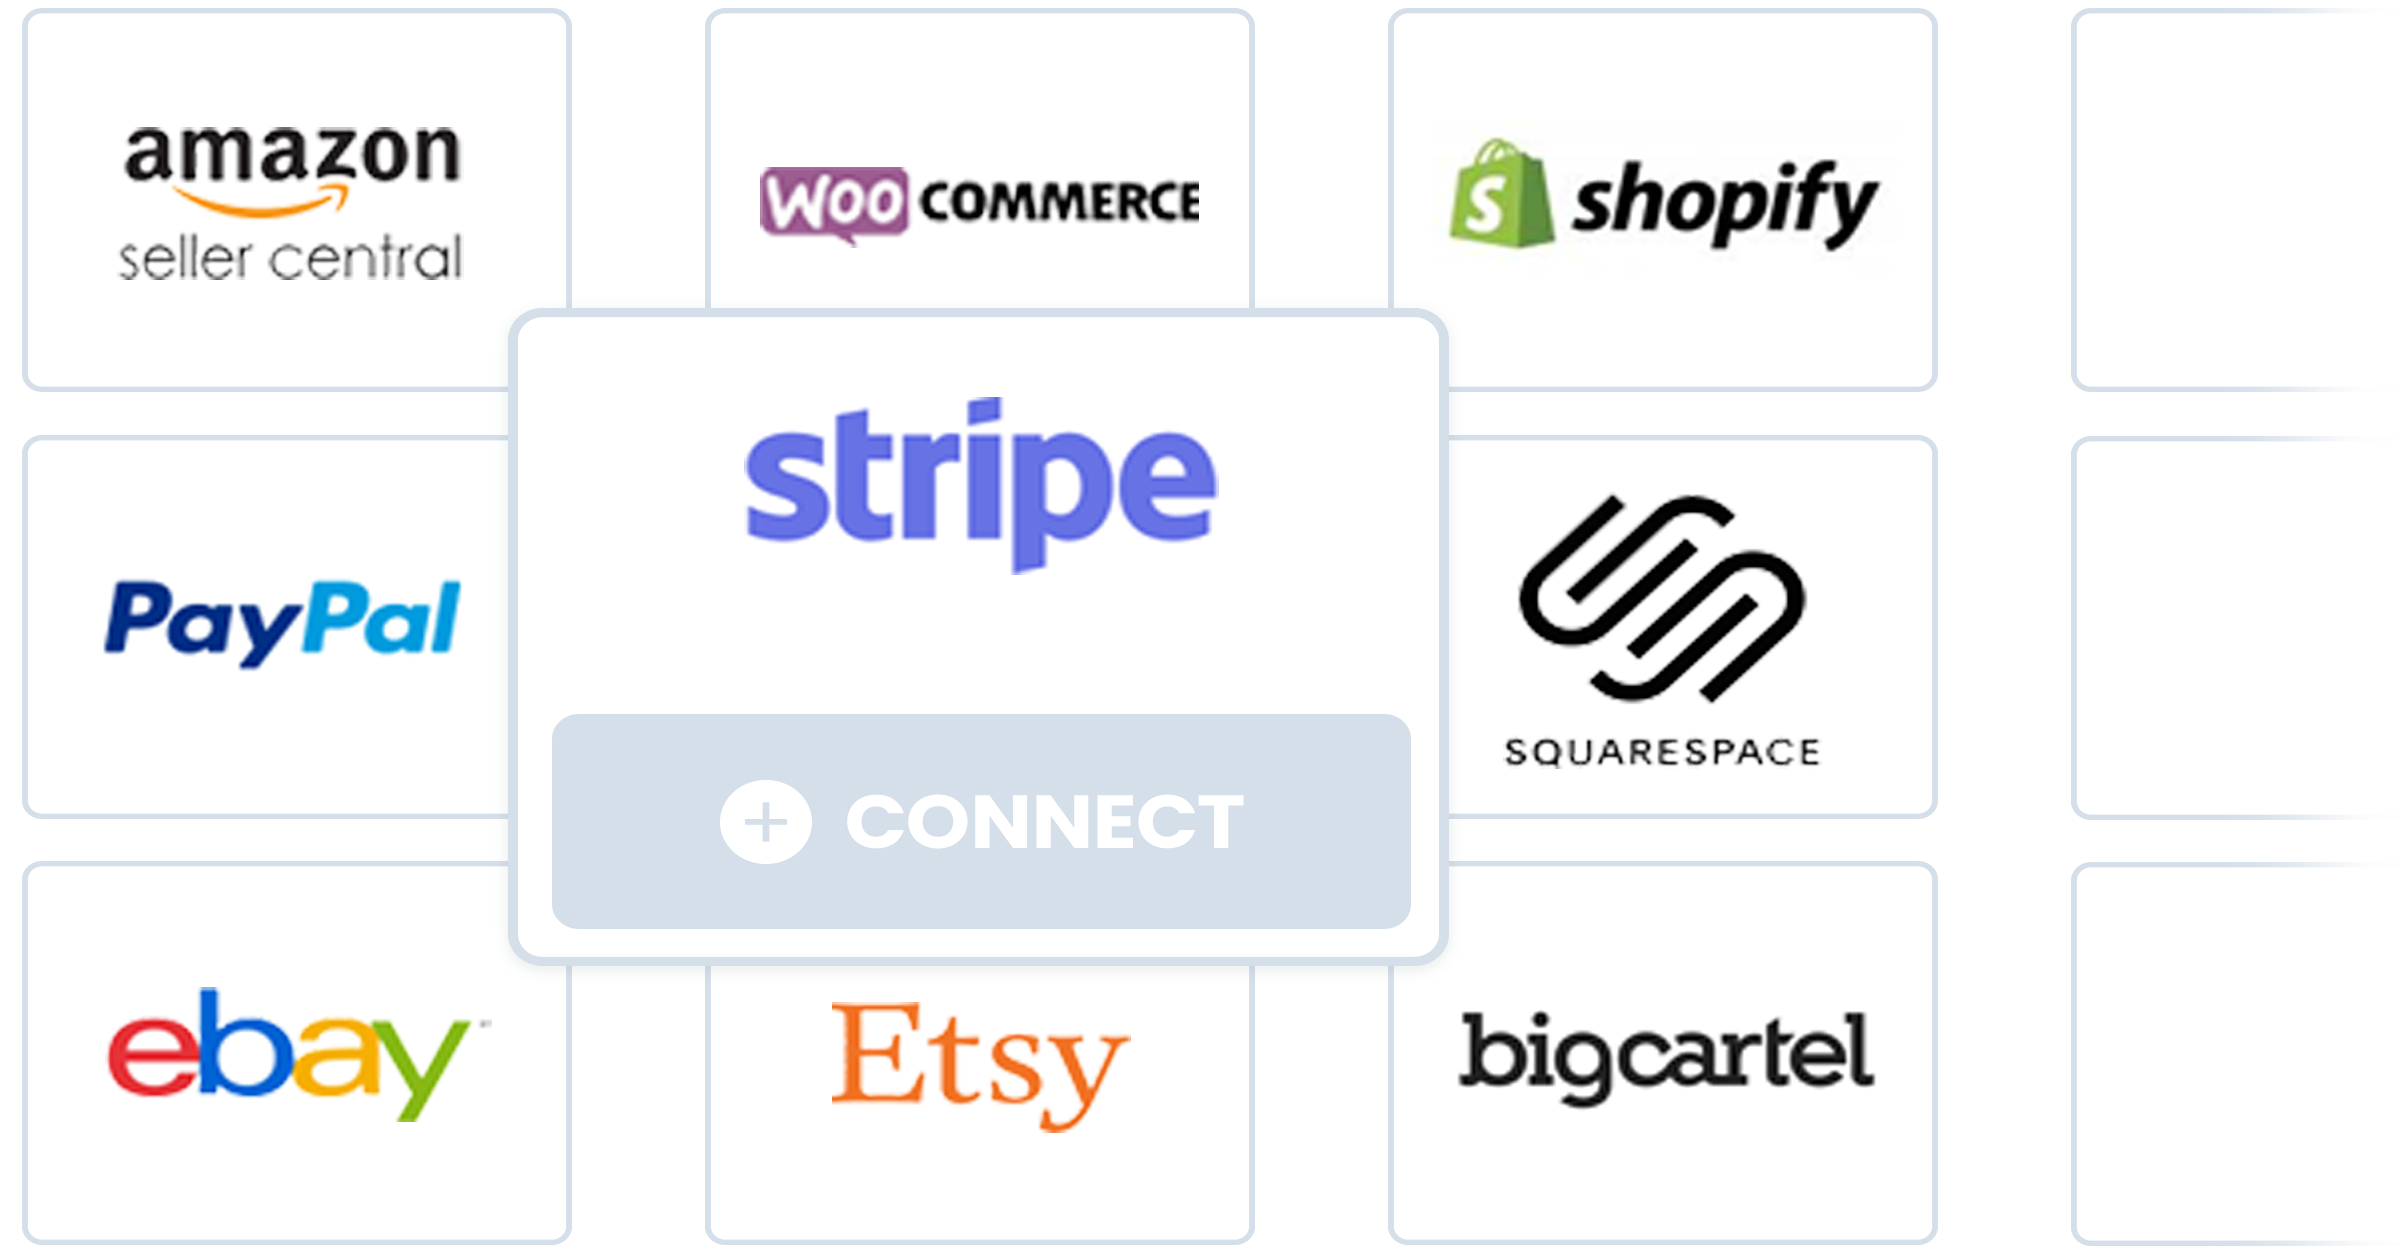
Greenback supports a growing list of retailers, marketplaces, e-commerce platforms, point of sale systems and payment providers. When you connect an account on Greenback, you are authenticating Greenback to fetch your itemized transaction data from the provider. Greenback converts your transaction data to a normalized data model perfect for use with accounting programs.
Connect an Account
Sales accounts include seller marketplaces, e-commerce platforms, and payment providers. Expense accounts include retailers and point of sale systems.
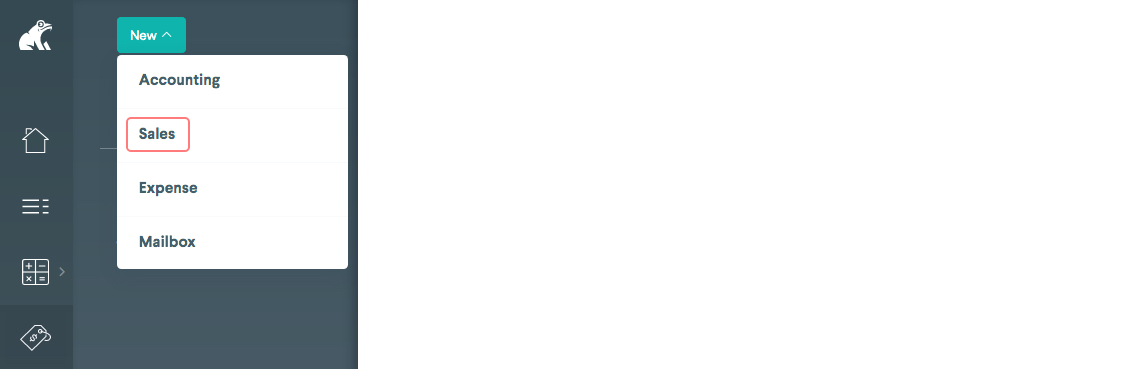
To connect a Sales account:
- Click the Sales
 icon >> New >> Sales.
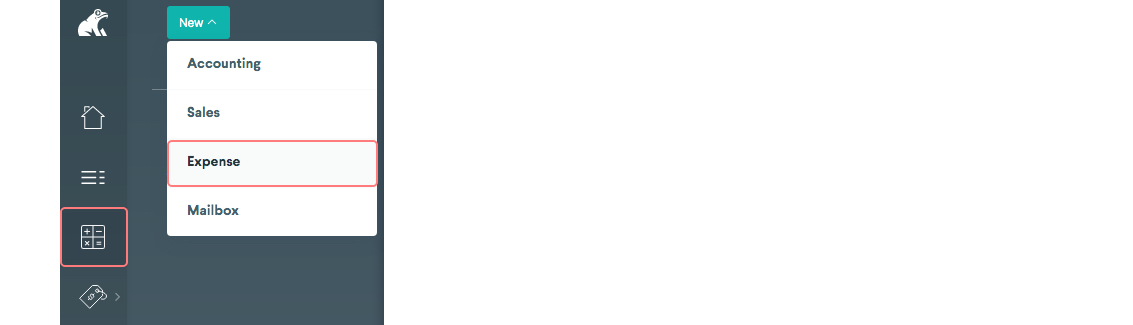
To connect an Expense account:
- Click the Expense
 icon >> New >> Expense.
Check out Greenback Mailbox to automatically convert emailed receipts and invoices for millions of vendors.
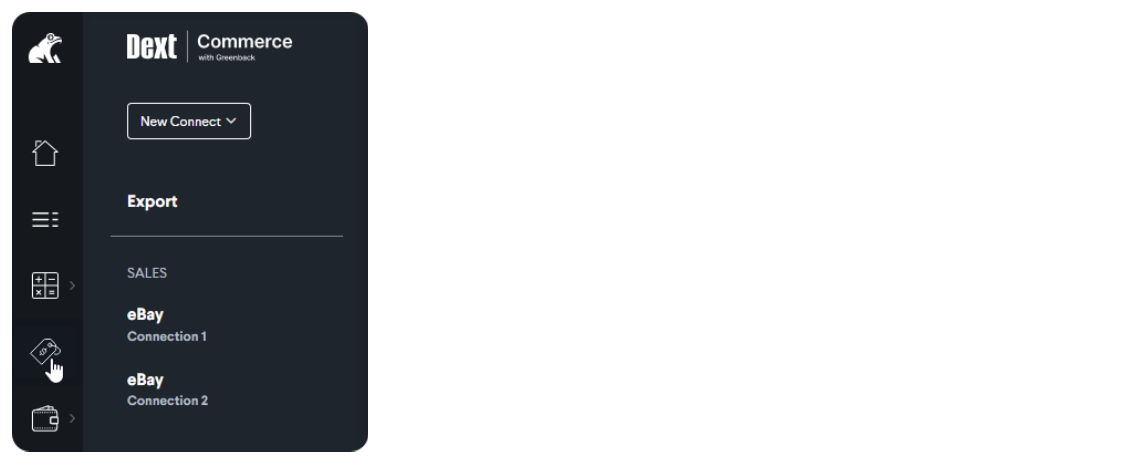
Connecting Multiple Accounts
When your business processes necessitate multiple connections to the same integration, Greenback has you covered.
When making connections, Greenback looks to authenticate your connection using active logins within your browser. In other words, if you are signed in to your marketplace/payment provider/accounting platform, we make the connection when (and only when) you click Connect.
If you are currently logged in to an integration that already has a connection made, Greenback prompts you to "Continue" or "Cancel". Clicking "Continue" resyncs your current connection. Clicking "Cancel" allows you to restart the connection process after you sign out of your already-connected account.

As you make subsequent connections to an integration, be sure to log out of any active sessions - not just close the window or tab. Doing this allows you to authenticate the connection using the desired credentials. Once connected to Greenback, data syncs regardless of active integration logins.
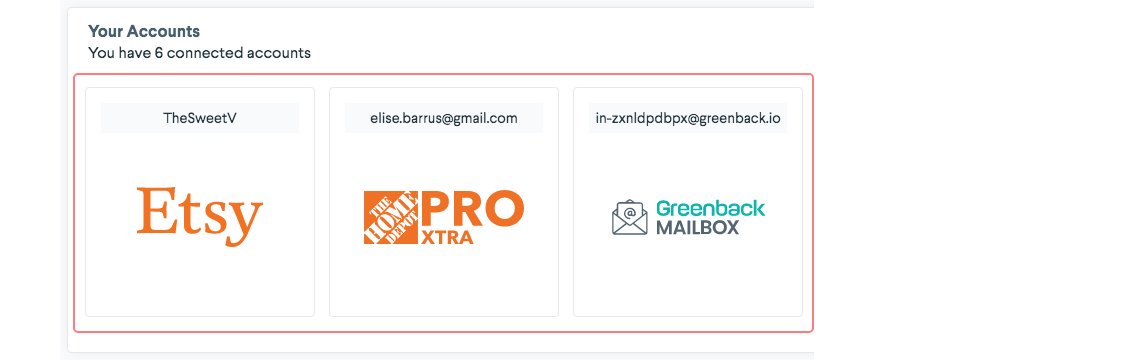
Each connection is listed separately in the connections menu:
…and can be filtered as such as you work with your transactions:
![]()
Authentication
To connect an account you first need to authenticate. Each integration is different but can generally be summarized into one of three methods. When connecting an account, Greenback provides you with detailed instructions on how to authenticate.
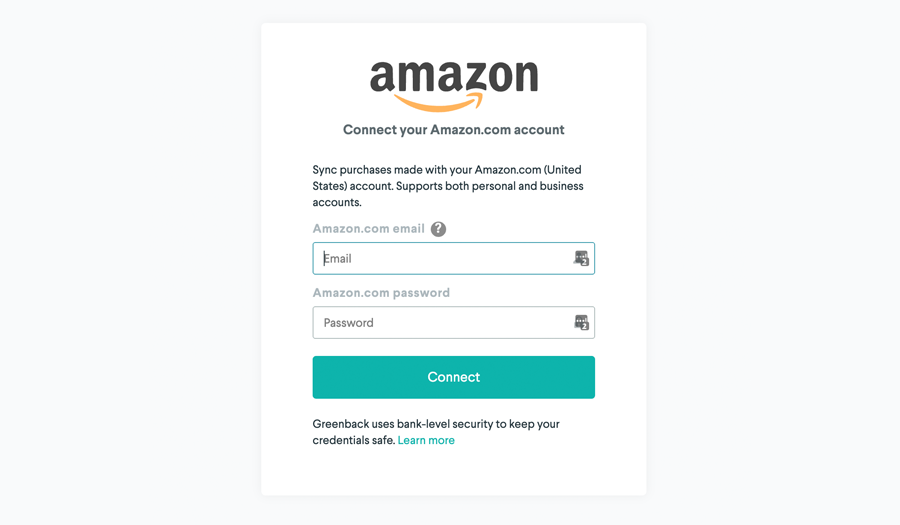
Authentication Method: Username & Password
Most integrations require you to authenticate the connection to Greenback by entering your username and password. For example:
Authentication Method: oAuth
Most integrations that provide an app store for customers to explore third party apps will use oAuth authentication. With this method you are redirected from Greenback to an approval process within the integration's own website. You will have to first sign-in to your account and approve the request to connect your account to Greenback. Squarespace as an example:

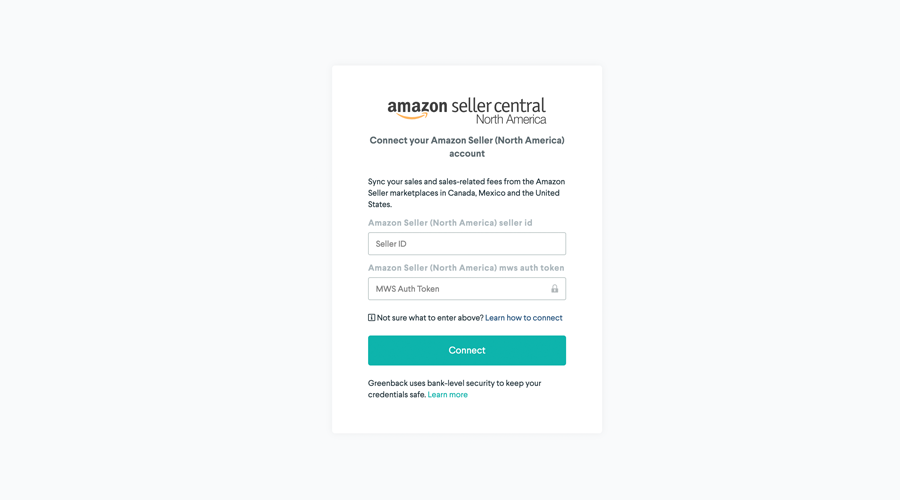
Authentication Method: Token
A smaller number of integrations require that you generate an access token from within the integration's own website. Greenback prompts you for the access token as part of the connection process. The access token acts as a key, allowing Greenback to access your data.
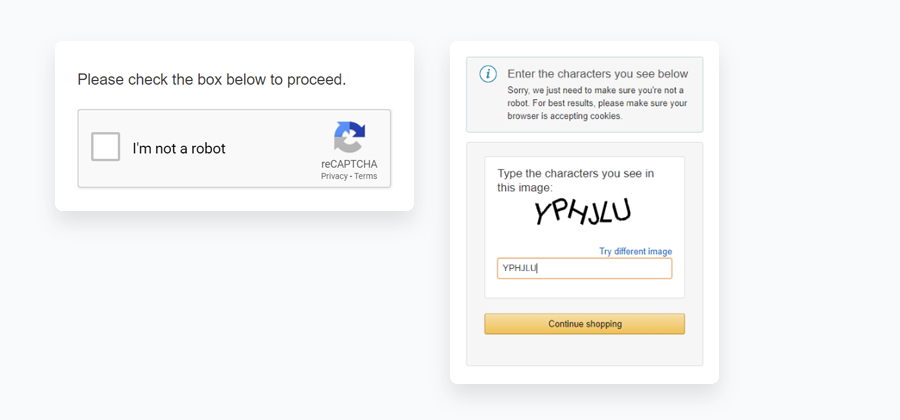
Two Factor Authentication
After connecting an account, ensure that Greenback is able to complete the first sync and return an initial set of transactions. During this process you are prompted to correct any authentication errors that may arise. In addition, some integrations may have additional security protocols commonly known as Two-factor Authentication (2FA) that require action. A few examples of 2FA that you may encounter are:
PIN Based Authentication
This often results in an email or text message sent to you that contains a short PIN code. Greenback prompts you during the sync process to enter the PIN code to complete the 2FA request.
Captcha
Another 2FA method often used is the Captcha. If required, Greenback prompts you to complete the captcha 2FA request.
All set! your account is now connected
Now that the authentication process is complete you will notice a few recent transactions sync to Greenback. Greenback automatically syncs transactions going forward.
-> Read more about Syncing Accounts
Step by Step: Sync Transactions
Greenback syncs your transactions automatically on a regular basis. You can also sync your latest transaction data to Greenback at anytime:
- Choose an account from the Dashboard.
- Click the Sync
 button.
Need historical data? Request a Catch Me Up
Do you need data prior to signing up with Greenback? Paid plans include a limited set of historical data. If you need more, request an extended Catch Me Up, starting at $49.00 for the first 500 transactions. Additional historical transactions can be fetched at a cost of $0.03 each. Historical Catch Me Ups are performed by a support engineer to ensure accuracy and completion of data.
If you require historical data please submit a Catch Me Up request by email at support@greenback.com